Free Shipping orders over $149
Free Shipping
on all orders over $149

Are you tired of being the human sprinkler system in your yard? It's understandable.
Manually moving a lawn sprinkler from point A to point B or walking around with a hose in your hands doesn’t always get the job done effectively.
Why not get something foolproof you can install yourself?
With the right tools and our top-notch information, you’ll have your system up and running in no time. Plus, you’ll save some extra cash on labor costs.

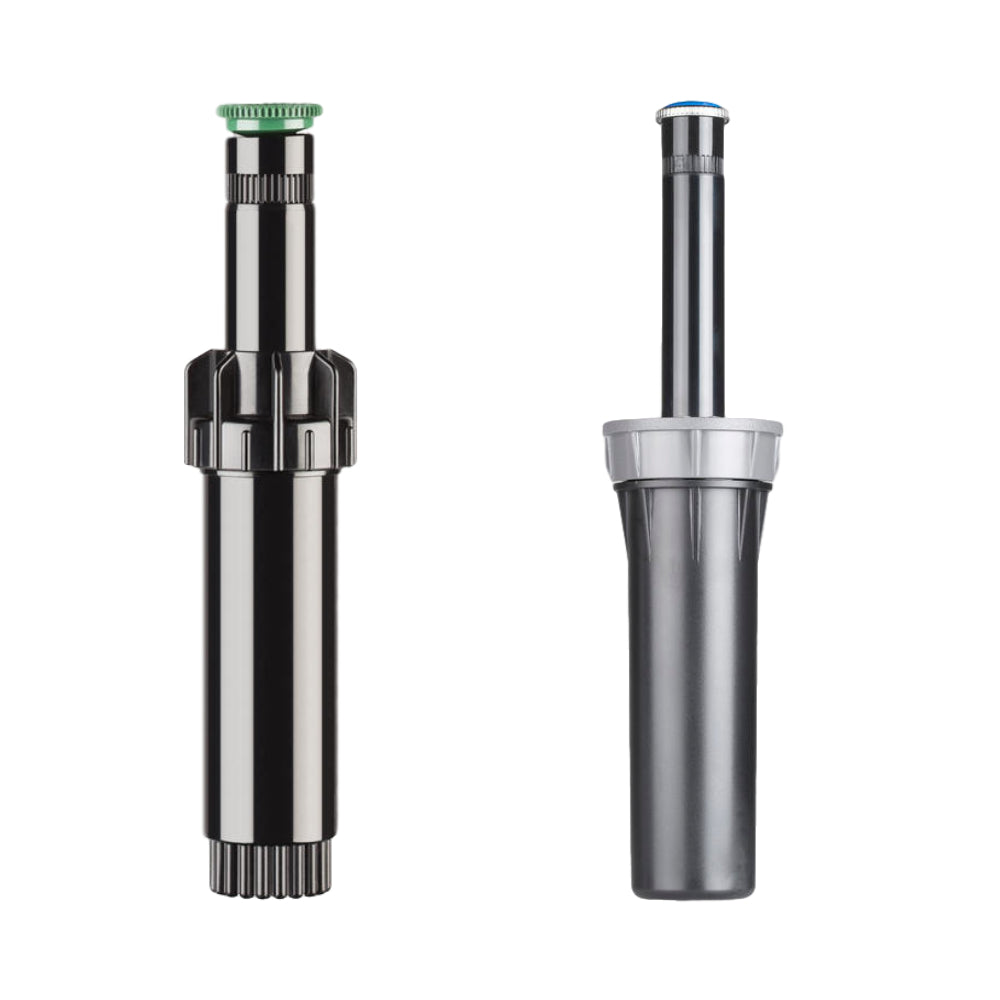
Source: Unsplash
Installing your own irrigation system is doable if you're willing to put in the time and work required to do it right.
Below are some important factors to consider:
| SKILL LEVEL: EASY It all depends on the size of your yard. You’ll definitely work up a sweat digging up trenches and connecting pipes, but all the parts of a sprinkler system are lightweight and easy to install. |
|
| ESTIMATED TIME A small yard can take 16 to 20 hours; anything bigger will take an entire weekend. |
COST On average, it can cost you $1,500 or less; the system size and complexity factor in. |
It's important to learn how to properly install a sprinkler system to avoid the risk of water flowing in unnecessary places, or not at all.
Before getting started, you need to know whether you require a permit for your DIY irrigation system from your local building department. You’ll also need to call 811 to make sure you don’t dig up power lines, gas lines, or cable TV lines.
Watch this fun video for a step-by-step illustration.
You need to gather information about your water supply to ensure you purchase the right components and tools.
Luckily, manufacturers often design custom systems that are specific to your yard and region. They provide instructions on how to check your water pressure and flow to find the right sprinkler system.
Here’s what you need to know about your water:
Map out your property including any shrubs, trees, and flower beds. Be sure to mark out where the sprinkler heads, pipes, and control valves will go. Space them out nicely so that they provide adequate coverage.
Manufacturers can also provide templates for this. Once you send them a sketch, they will send back a detailed plan, including specific instructions as well as a list of what you’ll need to buy at the hardware store.
Once you have your irrigation map and the specifications of your water system, it's time to gather the components of your sprinkler system.
Every sprinkler system has the following main parts:
Use flags or stakes in your yard to highlight where each sprinkler will go. Then connect them together with string to show where the pipe will lay.
Use the string as a guideline as you dig your trench. It should be 4 inches wide and 8 to 12 inches deep.
Then lay the pipe into the trench to ensure you have enough for your entire yard. Using an adhesive and primer, connect the ends of the PVC pipe to the zone valve. For each sprinkler, use a tee connection to keep it in place.
It's finally time to connect your main water source after your pipe is assembled. Then connect your control valve box directly to the supply line or an existing faucet. At this step, turn off the water at the meter to avoid wasting water and a resulting mud puddle.
We recommend hiring a plumber if your plan is to connect directly to the main line to avoid affecting any other existing underground wires.
If you feel confident doing this yourself, here are some guidelines:
Additionally, connect your PVC pipe to the control box. You can use multiple valves when controlling the water flow to various areas of your yard. After this, attach a riser to each tee connection along your PVC pipe. Risers will connect your water line to the sprinkler heads.
This step is to ensure you flush out the system of any debris that got caught up in the pipes during construction. If left unchecked, the heads will not function properly.
Turn the water on before you install the sprinkler heads and let the water clear the pipes until all the dirt has flowed out.
Connect a sprinkler head to each riser. Ensure they are facing the right direction and that they are ground level or just above the soil level for best results. To hold them in place, pack soil firmly around the heads.
Mount the timer on the house wall and use a waterproof pipe to wire it to the control valve. Use the manufacturer’s instructions to attach the wires correctly, or hire a licensed electrician to help you with this step.
Be sure to test each zone to control the valves using the timer.
And remember: rather than overextend a single zone, it's better to add another line to keep your yard from getting overwatered.
Now it's time to program your timer to a watering schedule that's suitable for your yard. Do a test run to verify whether all the sprinklers and zones are receiving the right amount of water.
Remember to adjust any sprinkler head that is spraying off course.
Once you’re happy with your hardwork and verified that your system has no leaks, you can cover the pipe and enjoy your DIY system.
And that's it! That concludes your sprinkler system installation and another successful DIY home improvement project. Are you interested in easy landscape design tips for beginners?
| DO | DON’T |
|
|
Now that you know all about sprinkler systems and how to install one yourself, how about stocking up on top-quality equipment? Visit our shop to see our limited offers.
We feature quality rotors, nozzles, and irrigation sprays from superb brands like Toro, Rain Bird, and Hunter.
We’ve been in the game for 11 years and pride ourselves on our excellent customer service. Don’t believe us? Take it from our clients:
“Have ordered several times and always receive a shipping notice within hours of placing the order. Usually have delivery in just a day or two.” - John Stout
“Great price on the backflow valve. Delivered quickly. Excellent follow up. Who could ask for more?” - Ruth Jackson