
Rain Bird TBOSPSOL 9V Potted Latching Solenoid
Brand: Rain Bird
Save 28%
Original Price
$70.05
Current Price
$50.78
SKU TBOSPSOL
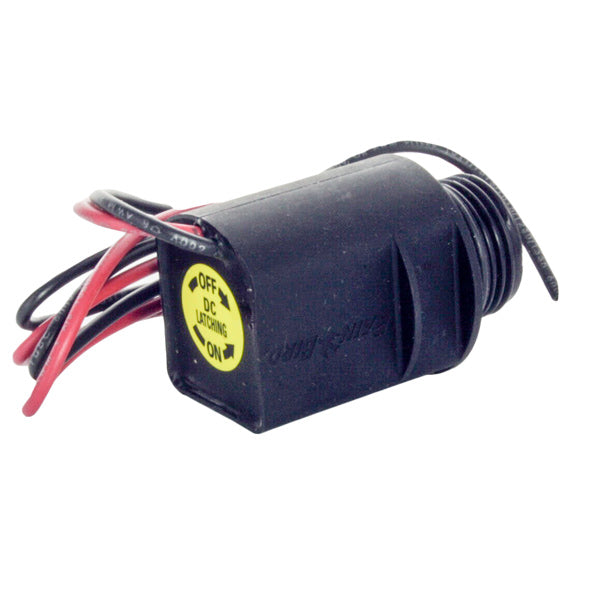
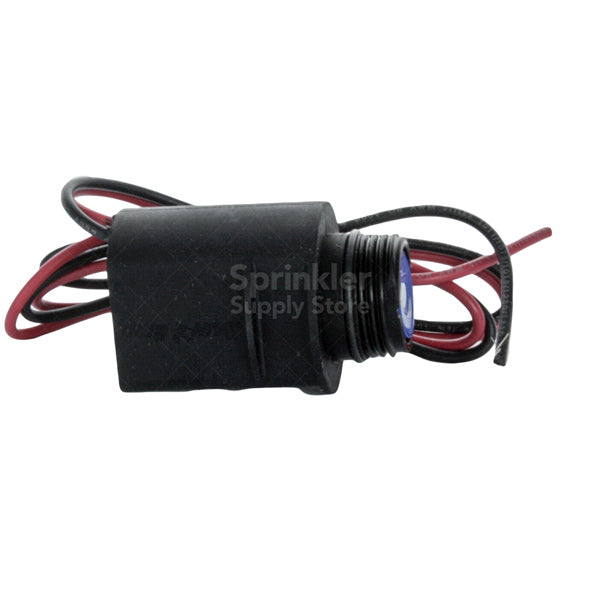
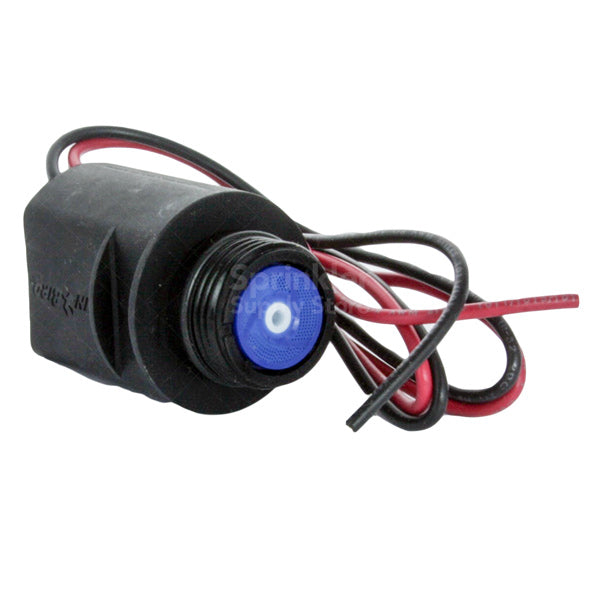
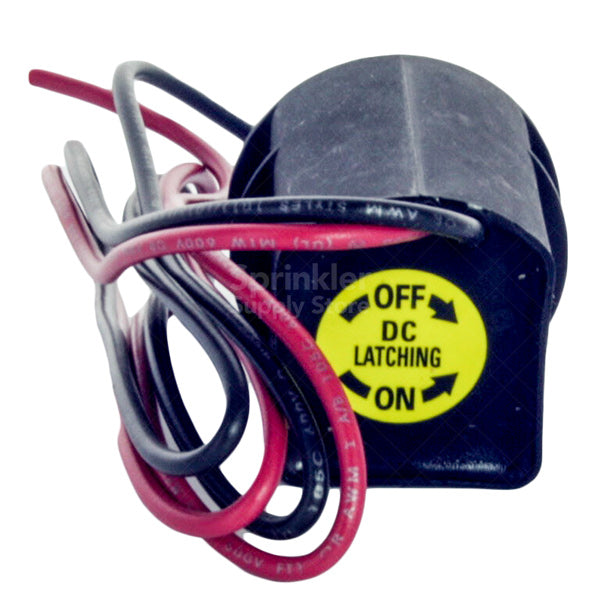
Replacement 9V potted latching solenoid designed for Rain Bird TBOS and TBOS-II battery controllers. Compact and fully encapsulated, it provides reliable switching for valves where AC power is not available.
- Direct replacement: Replaces Rain Bird TBOSPSOL (Rain Bird part number K80920) and fits TBOS, TBOS-II, TBOS-BT, ESP-9V and WPX series controllers.
- Wide valve compatibility: Compatible with Rain Bird DV, DVF, ASVF, PGA, PEB, PESB, GB, EFB-CP, BPE and BPES valve series.
- 9V latching design: Uses a 9-volt DC latching mechanism to minimize battery drain and allow operation from battery-powered controllers.
- Potted, weather-resistant housing: Fully potted construction protects internal components for dependable performance in wet valve boxes.
- Ready to install: Two attached 18‑gauge wires simplify wiring to the control module; sold individually for single-valve replacement.
- Quick compatibility check: Every valve controlled by a TBOS/ESP-9V/WPX system requires a 9V latching solenoid to function correctly.
Ideal for retrofits and repairs, the TBOSPSOL ensures battery-operated Rain Bird systems operate reliably. For installation, follow standard valve-safety steps: shut off irrigation supply, depressurize the line, then remove and replace the solenoid. Consult Rain Bird documentation for wiring diagrams and controller setup.